


Fleaman
-
Posts
907 -
Joined
-
Last visited
Content Type
Blogs
Gallery
Downloads
Store
Events
Profiles
Forums
Posts posted by Fleaman
-
-
Bruce puts Gps in every coiler, so it will be not lost, you just need to pay him ONE MILLION DOLLARS to get it back

-
Bordy!, Bordy!, Bordy!
Make a video.
-
VEry nice patch job, I tried doing a few of those when I worked in a ski shop in the 80s. My attempts didn't come out as well as yours did. Now go mount up those new BOL heel receivers and go ride!!!!
they are mounted and ready to go, but I am on Standby at work this weekend so I had to dream about riding.
they are the Bomber recievers for Catek bindings.
-
I wish I had a way to be more precise, but I am a backyard tuner.
Maybe with a large peice of metal for a template you make the cutout really large so the dremel fits inside to remove material. Then the problem lies in cutting the patch out the right size.
I would have used my CNC machine but I sold it for some beer and cookies last week :D
-
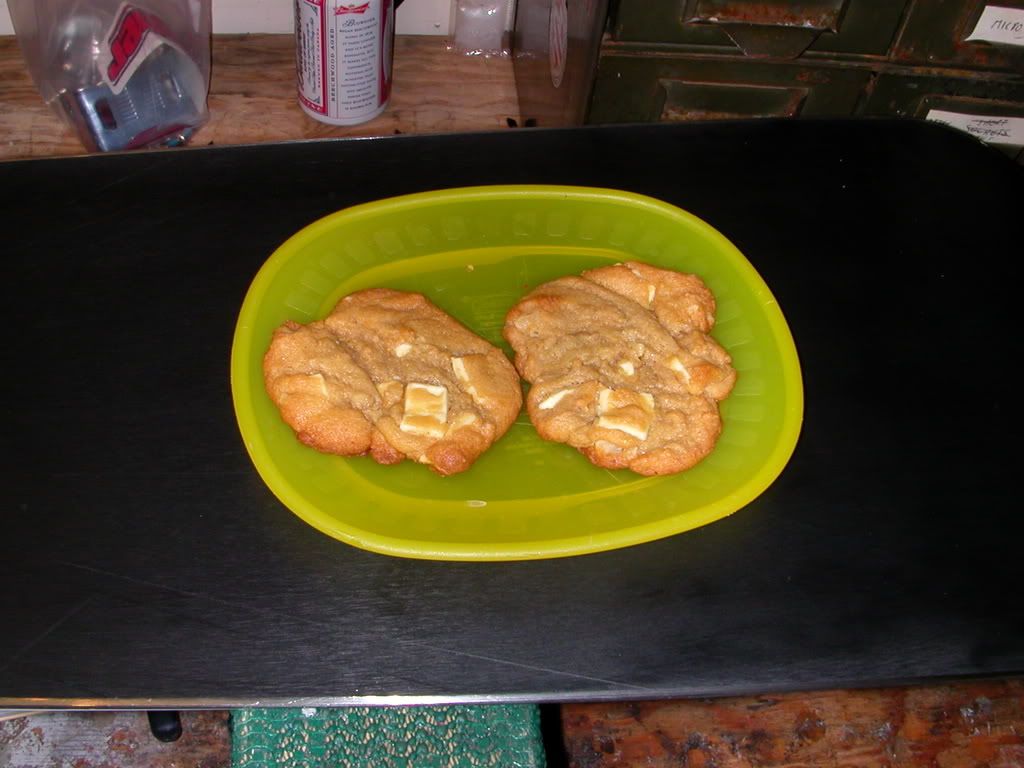
tasted better than they look. Good looking repair job though.
They were the frozen dough white chocolate macadamian nut cookies you buy from school fundraisers, they are my favorite.
-
Looks like you had the tools, talent, and cajones. I wouldn't trust myself with that job! Thanks for the interesting pics.
Before I took the dremel to the board, I measured 3 or 4 times then took a deep breath and chugged the rest of my beer.
You now officially are more qualified than me at doing that type of repair:biggthumpNice work! I have yet to see anyone do that yet and as long as you did the flame treat effectively( which is pretty easy), it should work out nicely.
Stay off the rails next time:freak3:
BV
Thanks for the idea. It was pretty easy to do it, just time waiting for the glue to dry.
-
Nice work Fleaman!

Can you or Bruce tell us more about the "flame treat" part of the process? Do you just slightly melt the Ptex before bringing the parts together?
All you need to do is pass a flame quickly over the parts a few times so it opens up the pores of the p-tex. If you hold it too long, it will melt it a bit and it wont stick.
Try it with an old board or patch of p-tex first to get the idea.
-
I uploaded the pictures to Photobucket and linked to them in my post with img tags.
like this
but without the * in IMG [iM*G]http://i19.photobucket.com/albums/b171/fleagalbaum/board%20repair/DSCN7698.jpg[/img]
there is a link on the photo page you can click and paste in your posts. The captions are written before or after the link
-
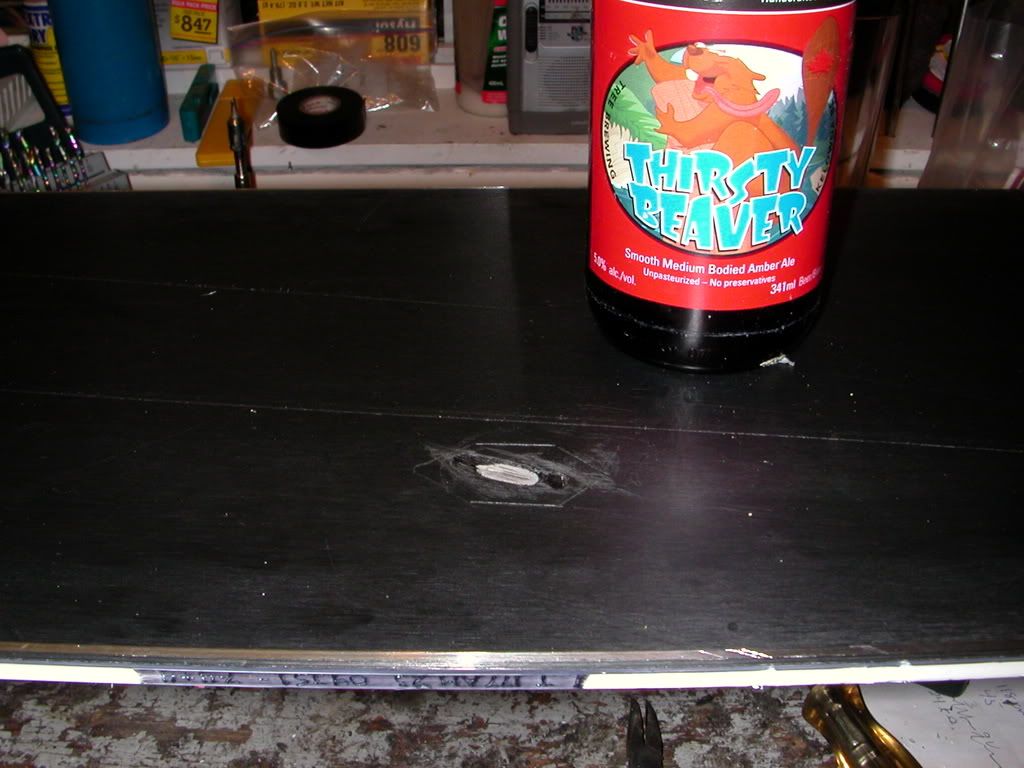
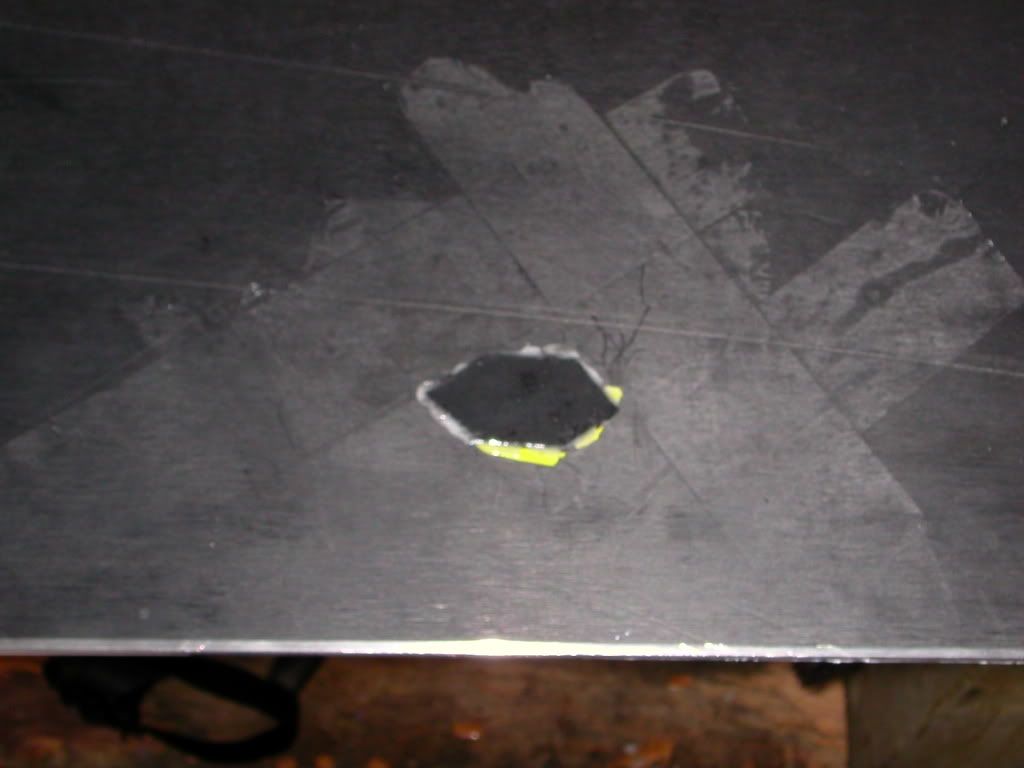
So I put a core shot on my new Coiler AMT 177 and was wondering how to fix it. I Emailed Bruce and he said he does'nt repair boards, he just builds another one when he breaks it. Haha, but seriously, he recommended taking the base down 2/3 the thickness and epoxying a patch in the area. This is required because if the anodized titanal under the base is scuffed, it will be hard for p-tex to stick.
So I was a bit leary taking a Dremel router to my board but I did and the repair turned out satisfactory. It isnt perfect but very useable.
If anyone has ideas or other techniques, please post your ideas.
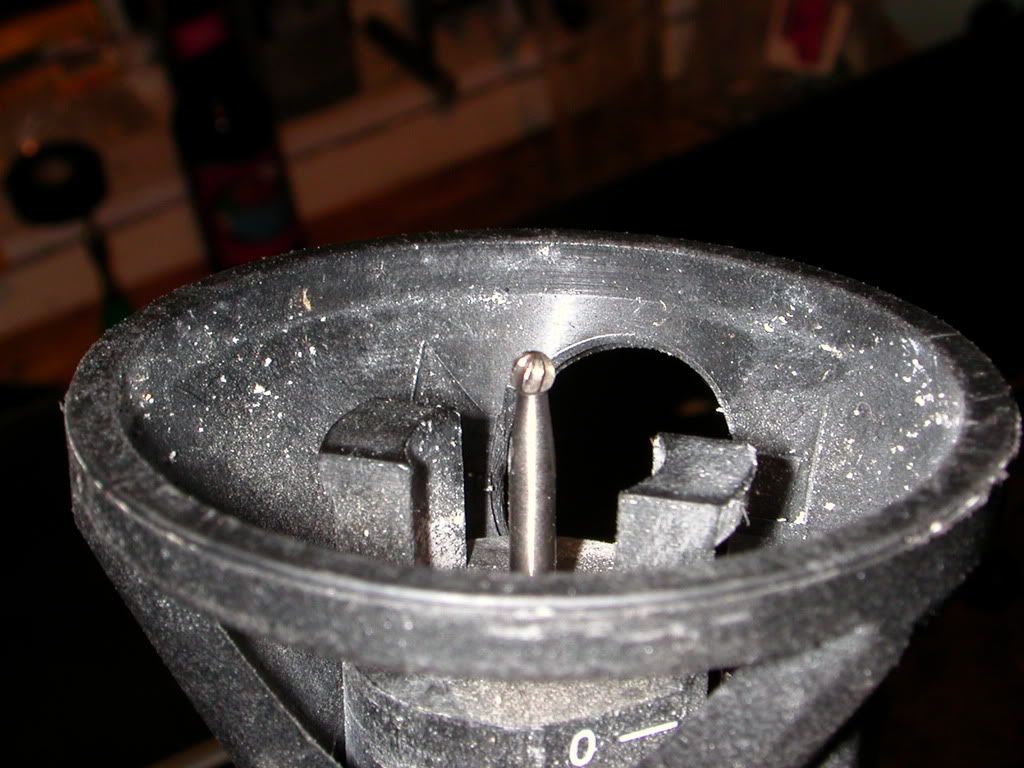
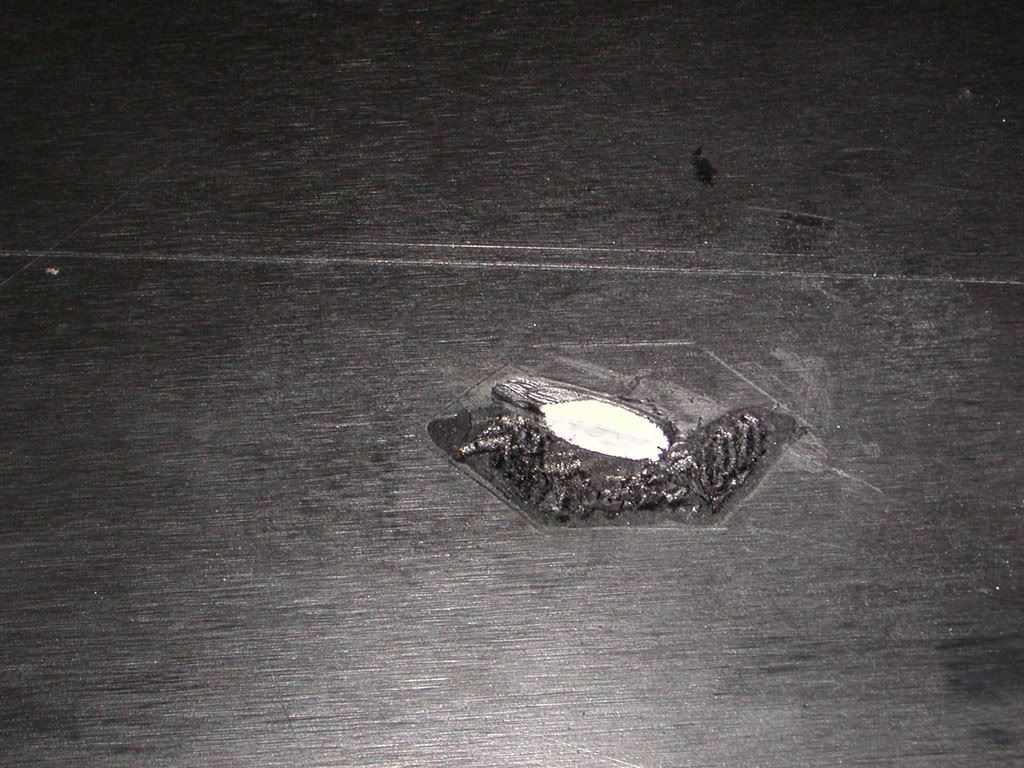
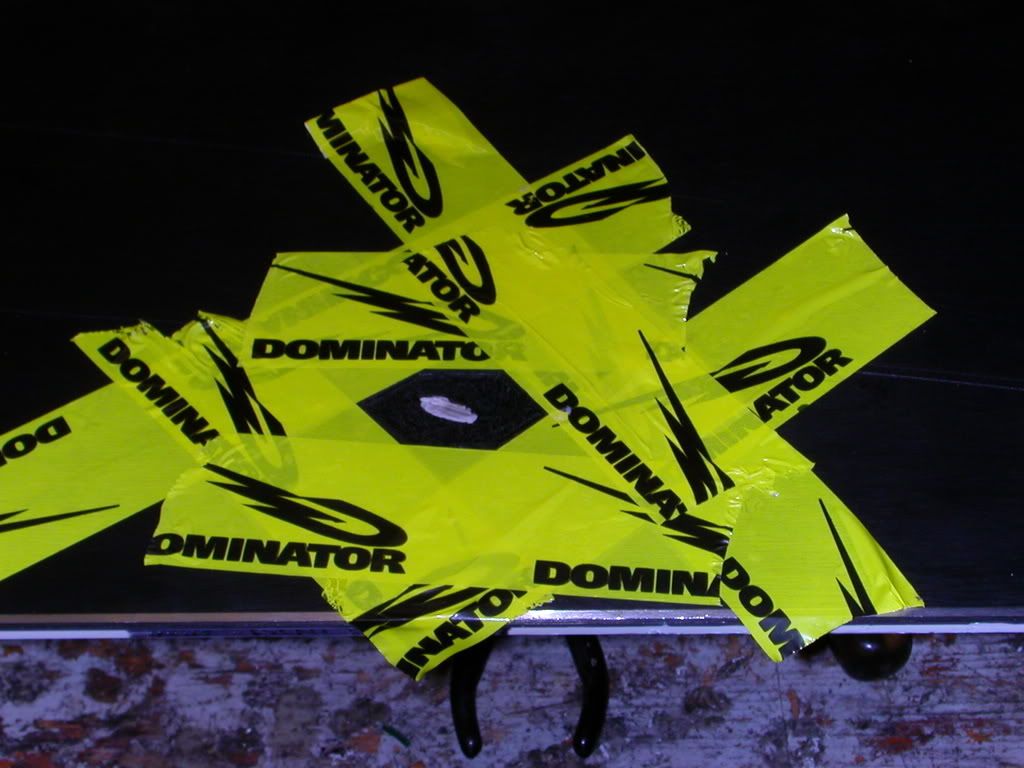
Here is a picture of the core shot.
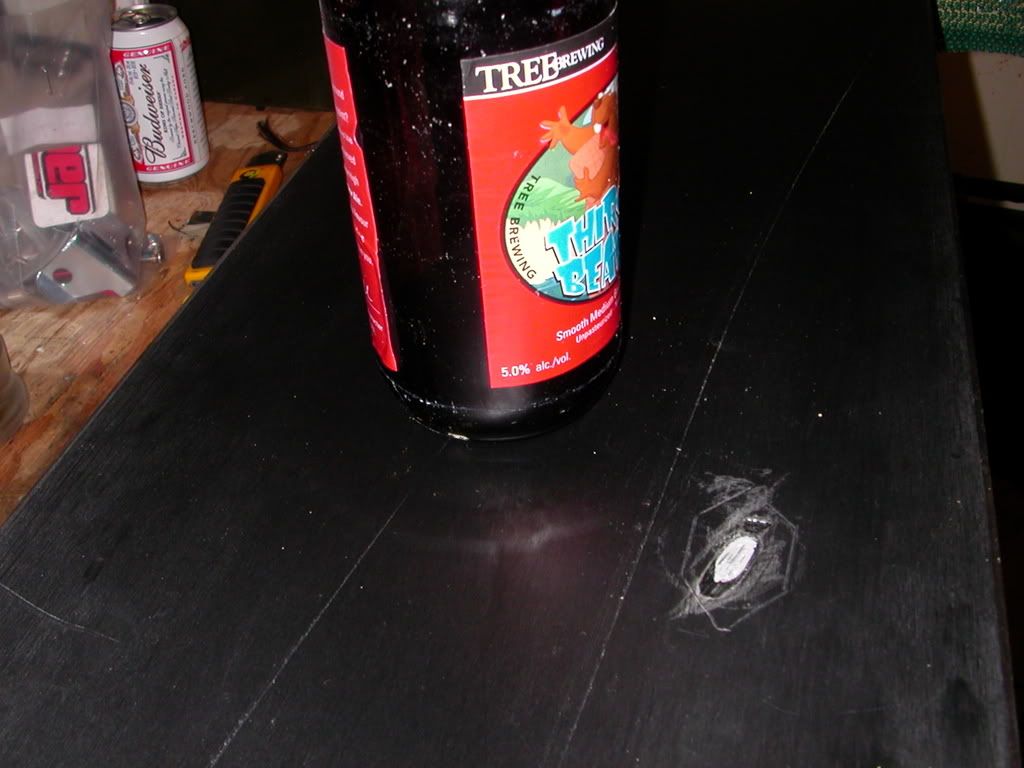
Another angle
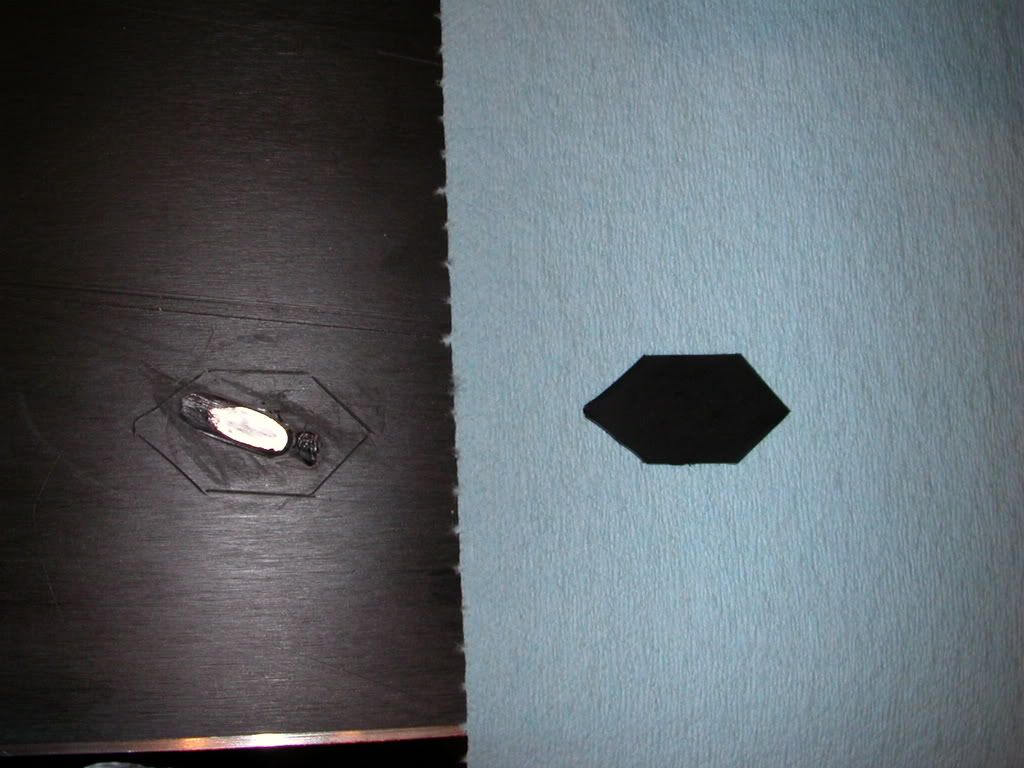
What I did is cut out a patch first then laid it on the base and traced it out to remove the material with the dremel router.
I then sampled some of the cookies my wife made earlier. Yum Yum
All I had at the time was a round burr bit. I think a cylinder one with a flat bottom would be preferable but this is all I had.
Starting to rout out the base 2/3 the thickness of the p-tex
The hardest part is to get the area cut out the same shape as the patch. The epoxy will fill in any gaps but they are unsightly but I dont care that much. I did the best I could without a template. You can get some at tognar.com
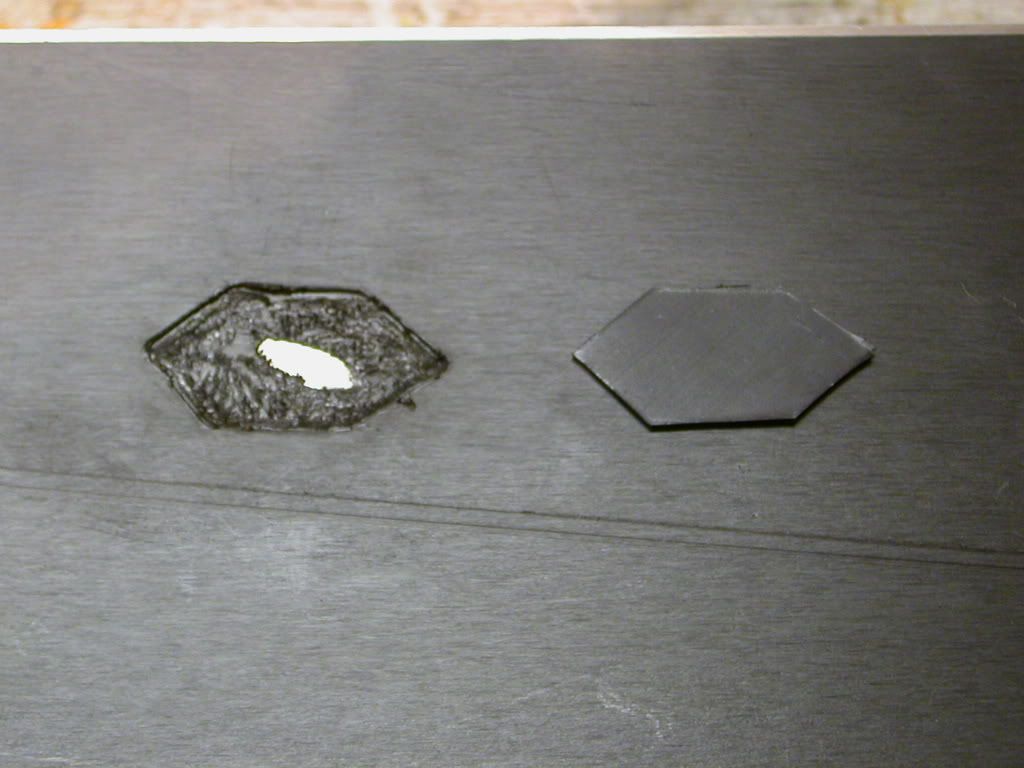
The patch fits fairly well.
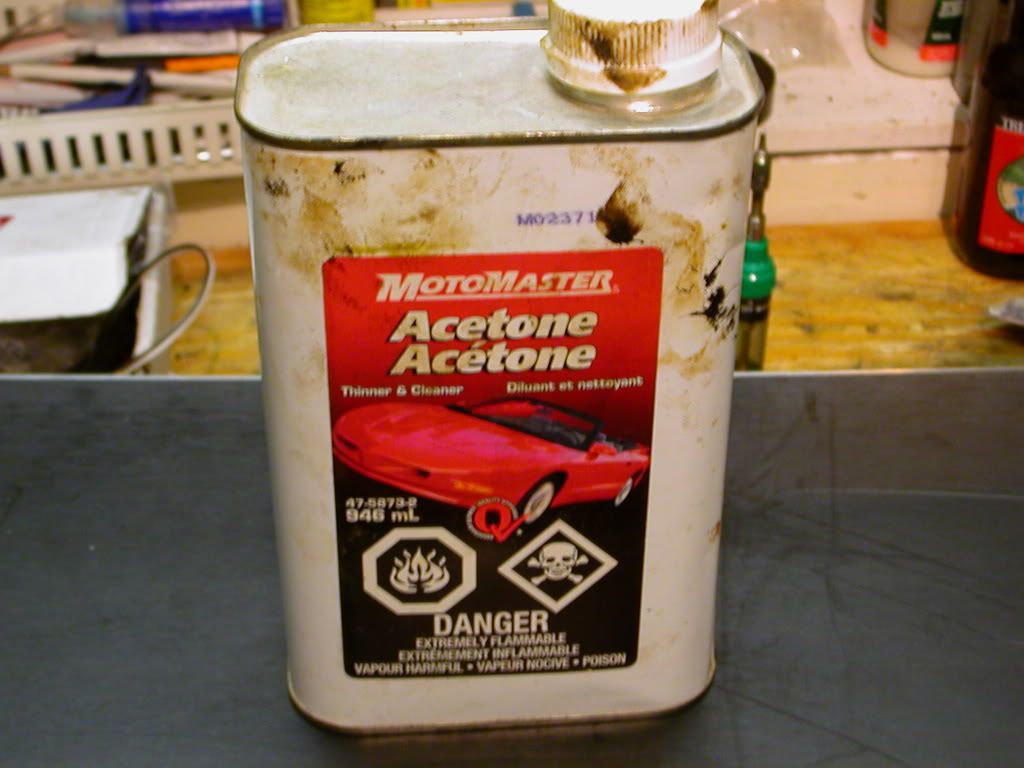
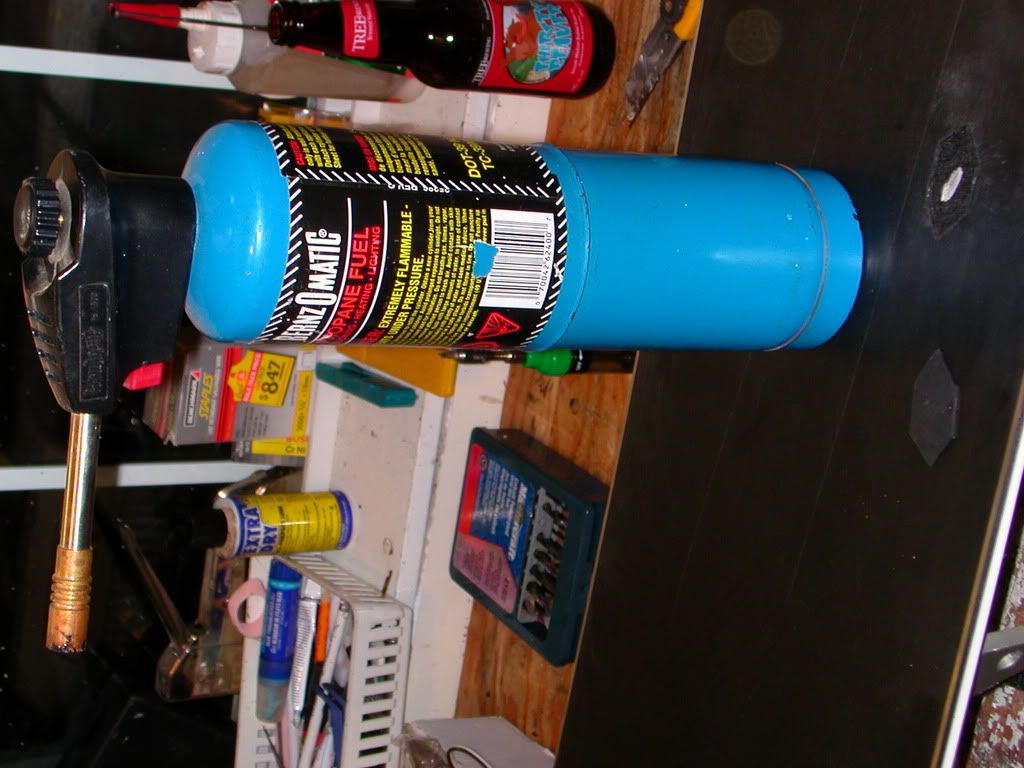
Then you have to sand the areas to be glued, keep it away from the metal to keep the anodization . then flame treat the p-tex patch and the base and clean with some acetone. You might want to let the acetone evaporate off the peices for a while before you flame the areas.

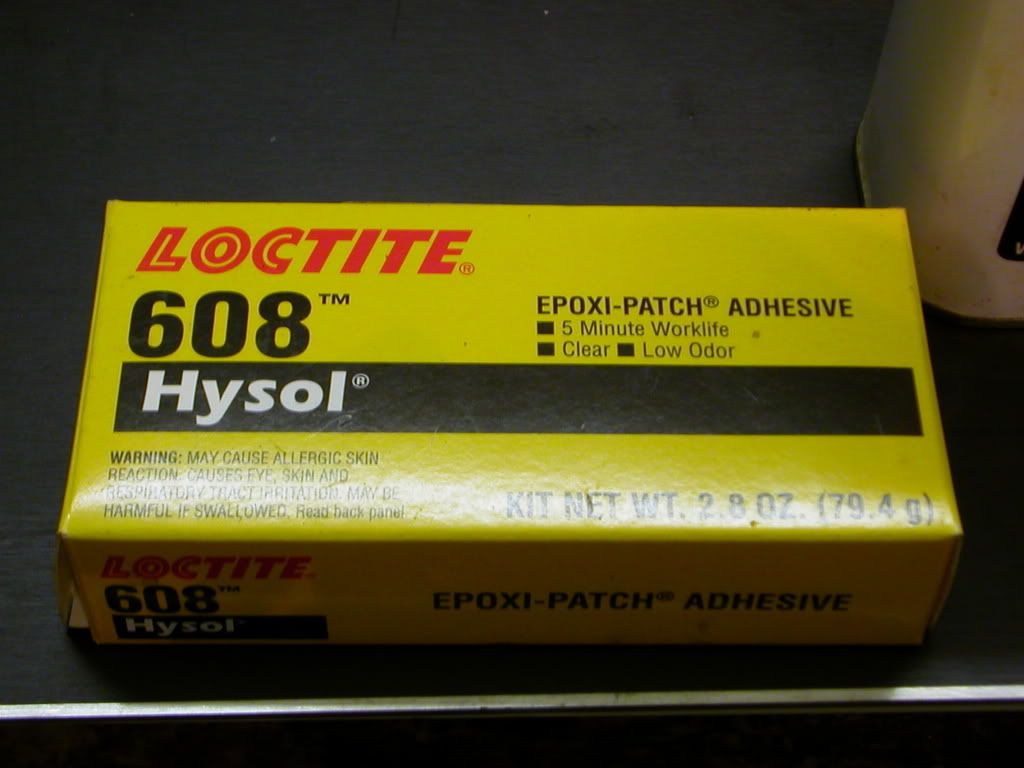
Then use some High quality epoxy, I used Hysol from Tognar.com
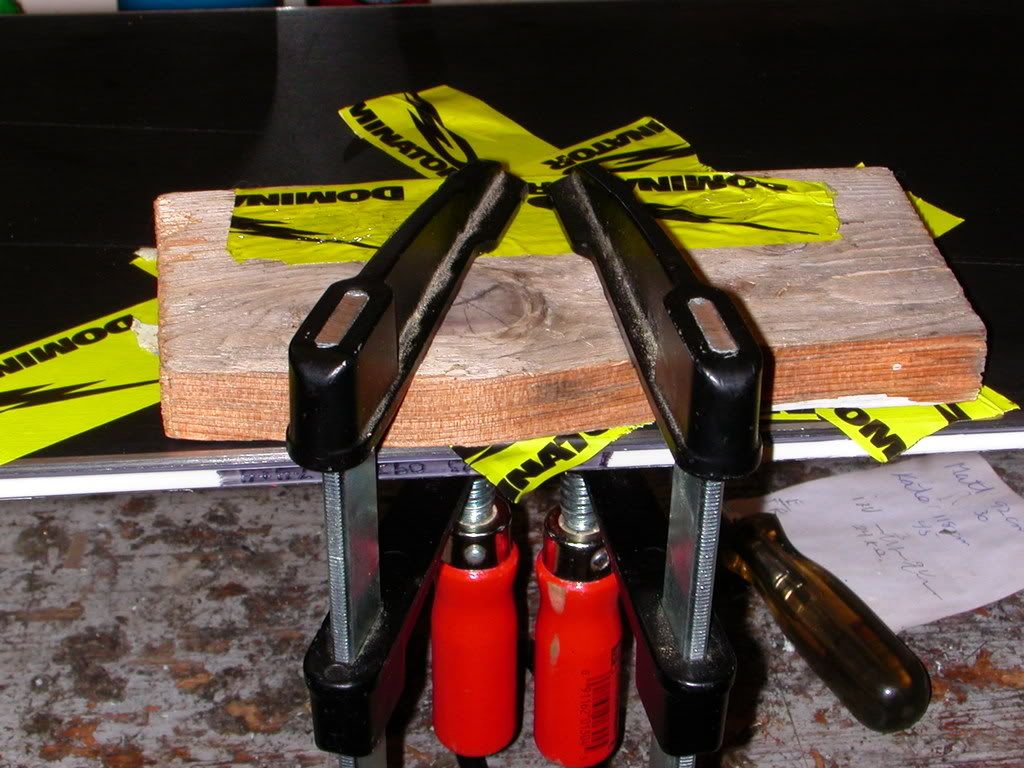
Prepare your clamping pad and clamps. I have found that wood with base protection tape does not stick to epoxy.
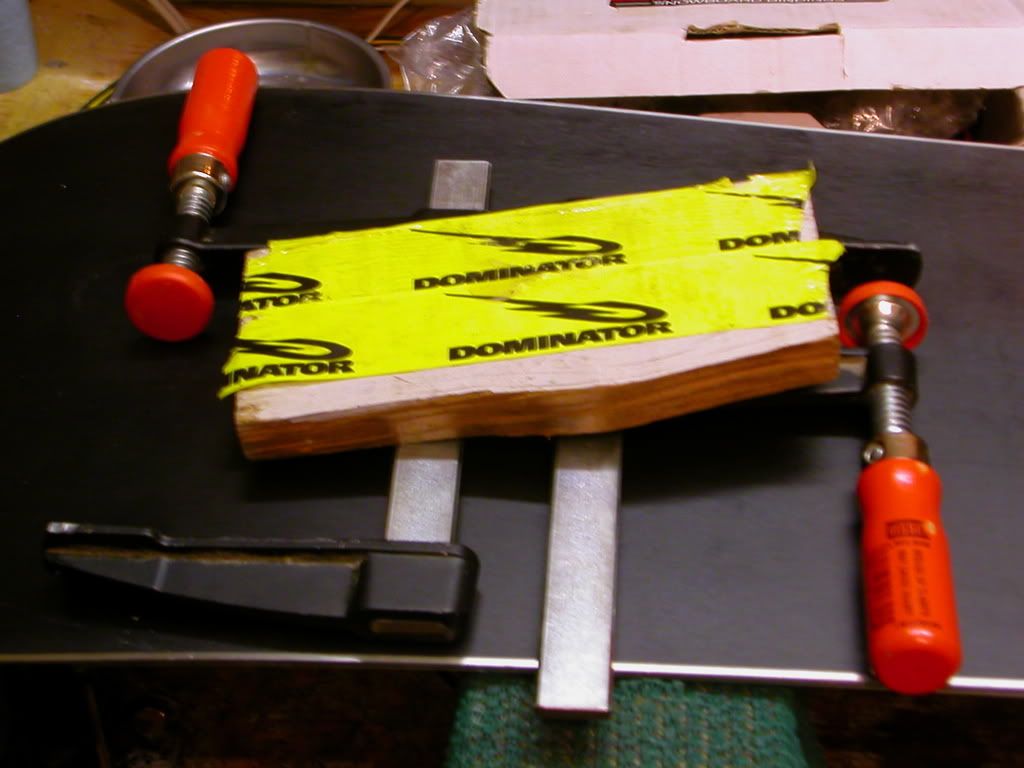
I then protected the area around the repair from accidental epoxy drippage.
By this next step you should have drunk at least this many beers, if not, chug a few and be happy.
the area all clamped up,
Everything peeled off a few days later.
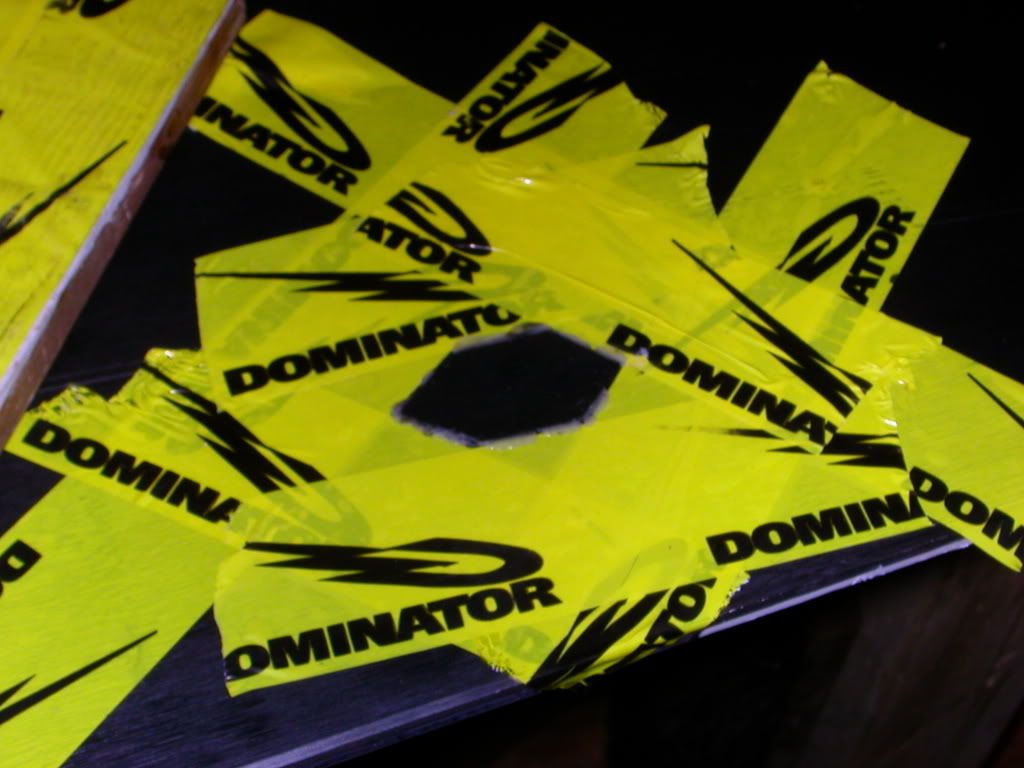
side shot of the repair

top shot
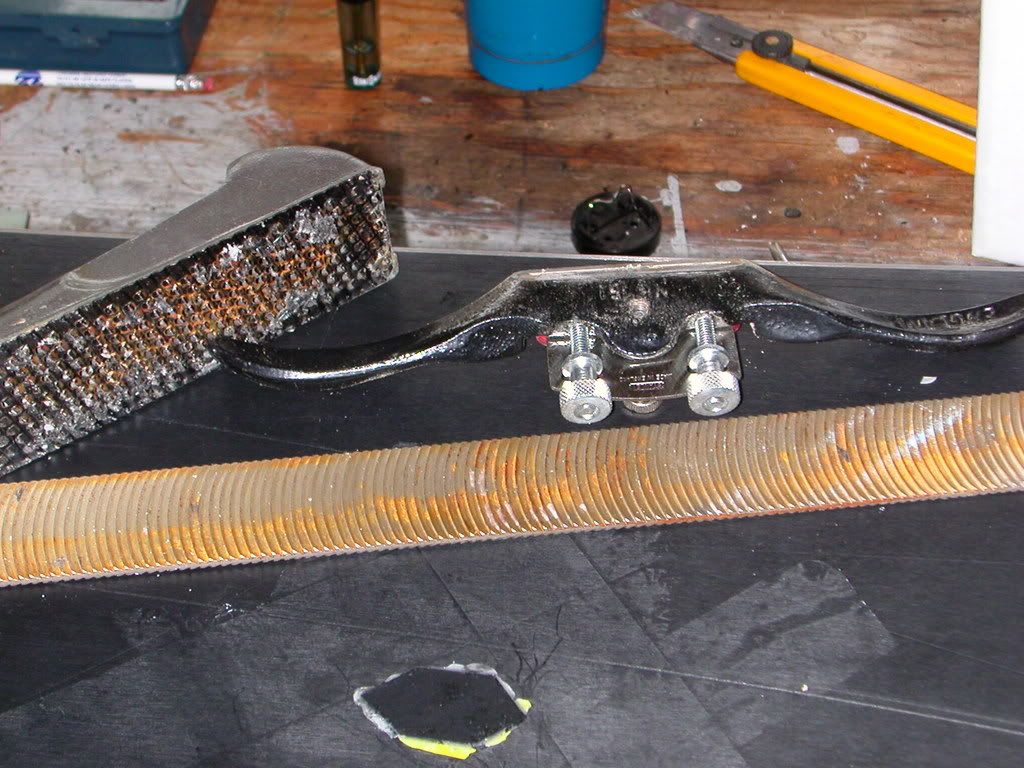
some tools I used to take down the patch level with the base. I used the draw plane the most, it is sharp and will damage your surrounding base ifyou are not carefull. I found pulling it on an angle like a file worked the best. As you can see in the next few shots I did drag it on the surrounding area and made a few light gouges.
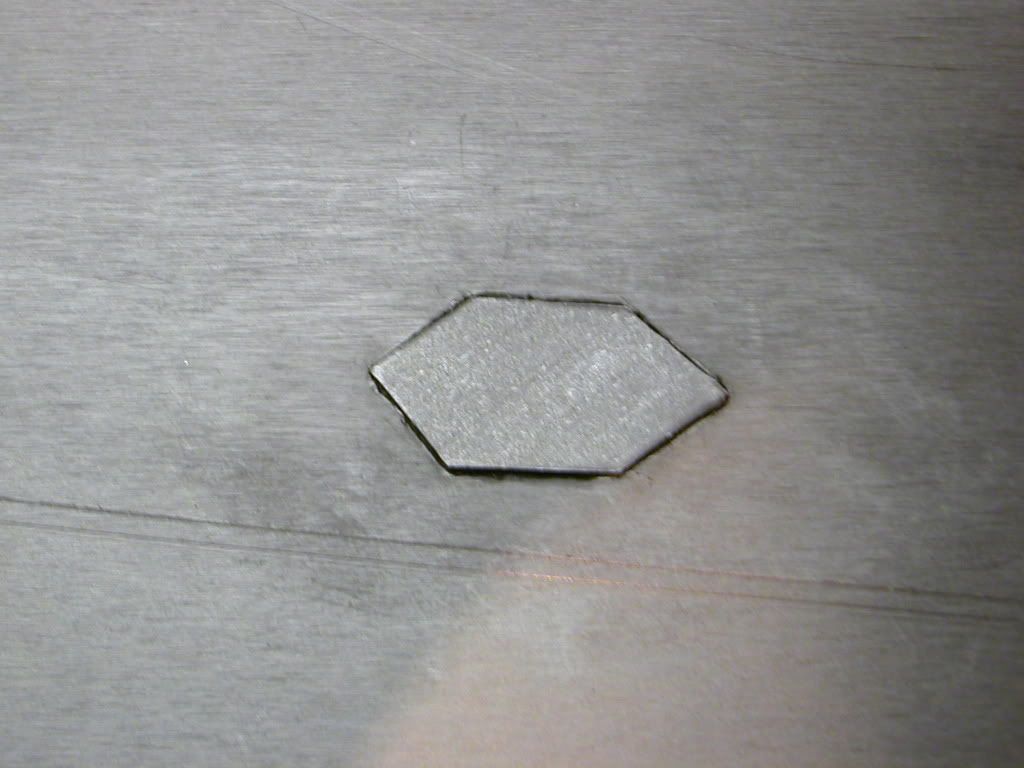
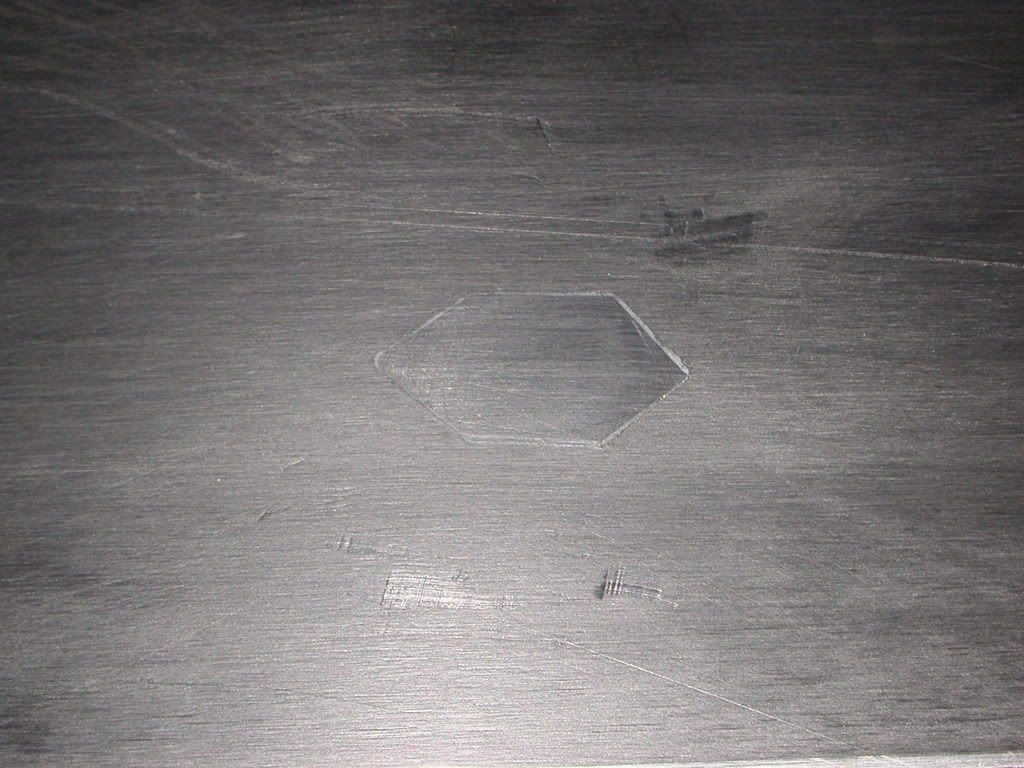
The completed repair, sanded a bit and then rubbed with a scotch brite pad.
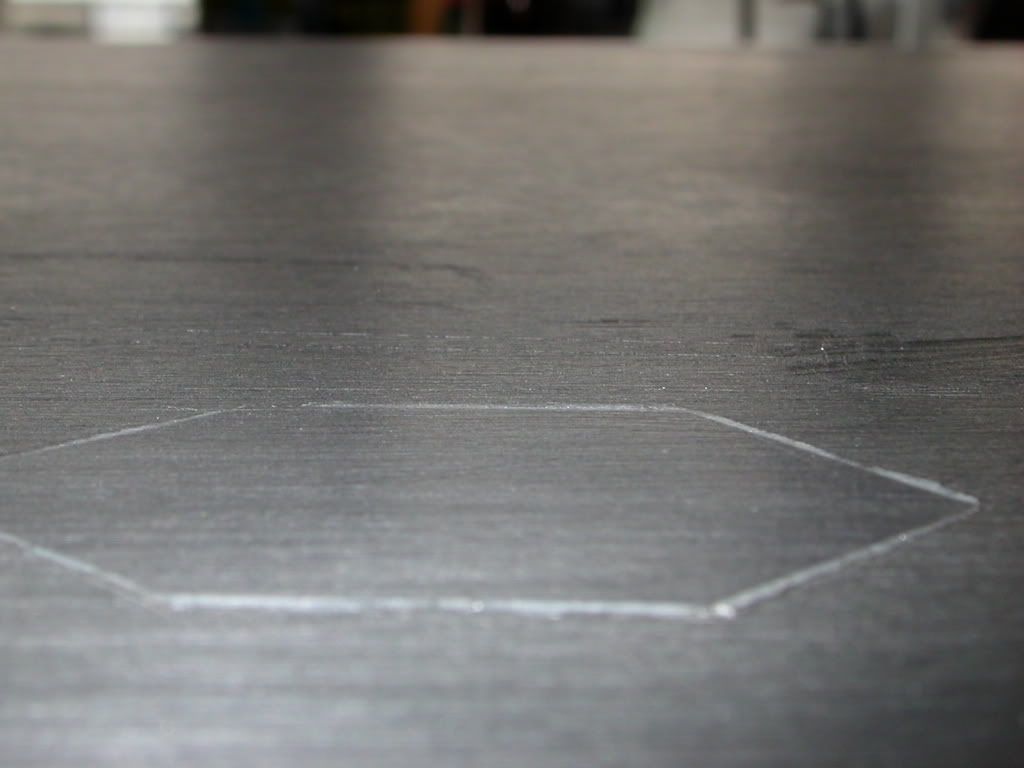
It isnt perfect but it is an effective repair. A template would make the patch fit nicer. Notice the tool gouges from leveling the patch.
Thats all, Now a wax and then go riding.
-
I must of missed that. Thanks Randy
-
I have ridden intecs for a few years now and am getting mixed messages on how to set them up. One person says that all the weight should be on the ears or the small pins on the fin tecs and other people say the weight should be on the large retractable pins with the ears on the down slope of the receiver.
Is there anyone in the know who can steer the masses in the right direction.
-
Just browsing and came across this on the front page of Digg.
http://digg.com/extreme_sports/Snowboard_horizontal_slalom
I have seen the movie before but it is good exposure for us.
-
I think they are just 10mm nuts., are the 12mm ones quite a bit larger?
Do you have a picture?
-
Gord if you really need boots, There was a shop(mountian magic?) on on the main street that had burton bindings. They might have some old stock, Also one of the ski shops by the movie theatre had some Burton boots but this was around 8 years ago now. Might be worth checking out.
Have a great trip.
Jason
-
I have a set of Fin-tec and I love the design . I am riding them with Cateks with aluminum recievers (steel bomber ones on order) and found that the heels ice up considerably to the point that I cannot even scrape them off on the stomp pad. I do use the receiver top now but never had to do that with the F2 Heels. I has been mild out also (hovering just under or over freezing.)
Dont get me wrong, I love the heels but was wondering if anyone else has the same problem?
-
I have a 21 and a 23 wide board with 30mp boots.
I have 65 and 58 on the 21
i ride 60 and 48 on the 23
-
I might be able to make it up on the monday as I have it booked off, but nothing in stone. I am getting the clamp down recently with my patrol duties. so keep in touch.
-
I should be getting that board next week sometime and will post a ride report. I am sure it will work as the first board I bought from coiler,(Bruce) I was worried about stripping inserts so he beefed up my PR188 around the insert area. worked great. ChubZ now own the board. ( I needed a tighter turning on.) I bought 3 more including this one since.
I guess I should work this new board hard in the next few weeks.
Ps, I am not that fat, but am 6'4 240lbs naked and around 280lbs with gear and a patrol vest.
Punishment at it's finest
-
Wow, you guys would fit right in BC Canada!
-
I went and looked, I have only 10 mm spherical nuts and bolts
-
Did you get the parts yet?
I will look, as I think I have the cones you need.
-
Free surf
-
One witness heard a man who was apparently injured, screaming "MY SCHTUBBY!"...
I just snarfed my rum and coke. Thanks for the laugh:lol:
-
Nice Mcguiver:biggthump
nice Mcquiver:)


How to repair Core shots on Metal boards.
in Carving Central
Posted